Pages

Showing posts with label growing. Show all posts

Monday, November 8, 2010

How to grow yourself a new collection:)

Sometimes things are looking a little shabby in the old succulent department... These little bubbies haven't really been well loved in sometime... sitting under the eaves with no water and a lot of sun... mistake! They have become a little misformed and somewhat crispy!
So this is the perfect occasion to do some succulent maintainence... Now I must tell you, this is the way I've been doing this for nearly 2 years, so it may not be the most effective way but it is my way...
So first you need the things above -
- Succulent and cacti potting mix (this gives the best result... although i have used normal potting mix and at one point even straight compost...)
- Somewhat overgrown succulents
-Scissors
- Seed raising tray (Not always essential I guess... but I think it helps the process a bit)
The seed raising tray below is one of mine... it is a bunnings one... my friend got similar at aldi for 1/3 of the price so if you see them there snap up a couple! I have another one but it's just not as pretty... also from bunnings..


First step is to fill the little holes with the potting mix, usually nearly all the way up to the top!


Then find some weird looking succulents that need some maintainence...

This first one is not so weird, it just has some extra babies hanging off its side... Perfect! 


This next one went weird and long... trim that back... will see what happens there... haven't ever cut the main stem off before.. usually I would take that extra little bubby one out of the middle...


This one also had long bits... and a flower coming! But the flower needs to be removed if the succulent is going to grow more successfully this season! Also I did some pruning...
  

Found this little selection on the footpath after someone tore it off a bush.


Next step is to snip off the babies and pruning bits so there is a little bit to stick in the dirt:) Luckily these ones have little roots as well.  They could have probably just have gone straight in a pot with the root system, but they are very tiny for a pot!
(At this point better homes and gardens man would have left them in the sun to form a callous on the cut so they don't rot.. but i have never done this.. not sure how much more successful it would be..)


Then just pop them in the dirt!


Then after maintaining a couple of plants you will end up with a little tray of loveliness like this:) I have two trays of lovelies right now! And in about 6 weeks they will be ready for planting in pots or you could pop them in the garden... or whatever!:)


Goodluck with your future succulent garden collection!

Thursday, March 11, 2010

Veggie patch idea for my sister:)

So it turns out that my big sister is a little disappointed that she talked me up on facebook and then I didn't do anything on my blog for like weeks. I imagine that was me being back at work?...
Anyway. I found these lovely pics of veggie patches.
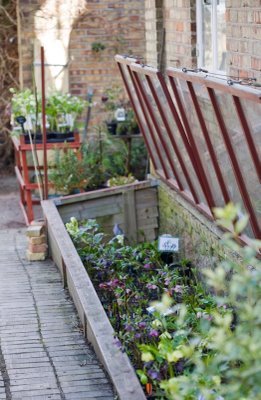
My sister is starting one. It looks like it could be the beginnings of this first one... hehe but I don't think hers has any veggies yet!


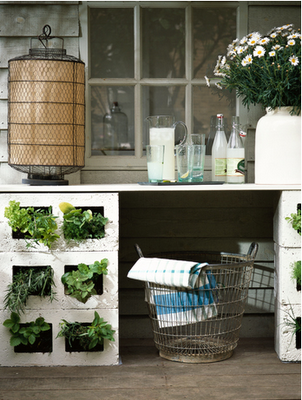
I enjoy this next one... this could be cute... but also susceptible to bunnies (hop hops), sausage dogs and particularly bouncy staffies.


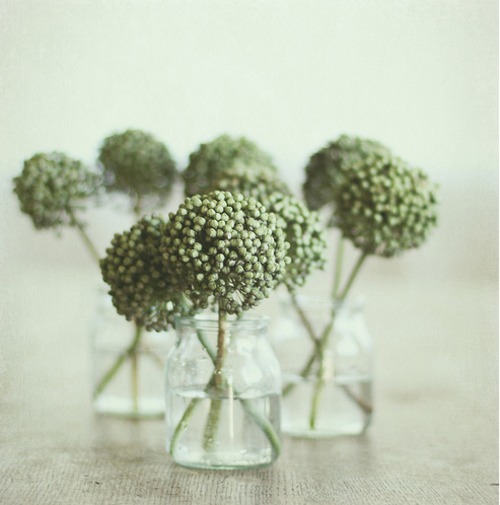
May be you can grow some lovely garlic flowers?

To grow garlic you need to plant them in April. That is coming up... may be you should get on it? And then....

• Separate the garlic heads into individual cloves. Each clove that you plant will grow
into a new garlic head.

• Plant the cloves on top of the surface (pointy end up), pressing down firmly until the
bottom is 5 – 10 mm into the soil. If you have lighter soils, plant the clove 30 – 40 mm
below the surface.

• Shallow planting ensures the whole garlic, and not just the snapped-off stem, gets
pulled from summer-dry ground!

• Plant garlic 15 cm apart within a row and 40 - 50 cm between the rows.

• Mulch with straw after planting to keep the weeds down. If you don’t mind weeding
there is no need to mulch.

• Harvest when about half the leaves have dried off and started to brown,which is usually in early to mid-December. Harvesting times vary depending on the season and different locations.

• Garlic is fairly susceptible to mould and fungus, which will shorten its keeping life
or rot them out all together. For this reason it is important not to water your
garlic for 2-3 weeks prior to harvest (and hope it does not rain too much).

• Garlic left in the ground too long tends to split, allowing soil, moisture and
potentially disease to get in.

• Pull the garlic out by the stem (or with a garden fork if your soil is hard, but be
careful not to damage the garlic).

• Bunch the garlic into groups of 10 – 15 and loosely tie together with twine. Hang
to cure in a dry and well ventilated shed or room.

• Do not harvest your garlic if it has recently rained, drizzled or there’s been a
heavy dew; it is best to wait a few days for the weather to dry it off naturally.
Curing/hanging damp garlic is a sure way to invite mould.

• If you wish to plait your garlic, leave it to hang for two weeks, plait while the
necks have not hardened off and then hang again for another 2 – 4 weeks.

• Once the garlic has cured, clip off the root and the tops about 30mm above the
garlic head and store in a dry, well-ventilated area, in the way you store onions..

• The garlic should stay firm for 8 – 10 months (if stored properly). The medium to
smaller sized garlic keeps much longer than the larger garlic heads, so eat your
larger garlic first.

Garlic growing information from here.
Photos from here.

How helpful am i??
Related Posts with Thumbnails