
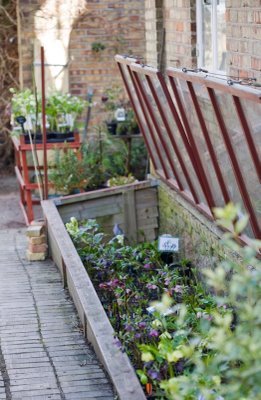
Anyway. I found these lovely pics of veggie patches.
My sister is starting one. It looks like it could be the beginnings of this first one... hehe but I don't think hers has any veggies yet!
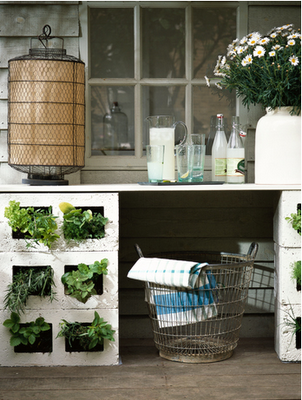
I enjoy this next one... this could be cute... but also susceptible to bunnies (hop hops), sausage dogs and particularly bouncy staffies.
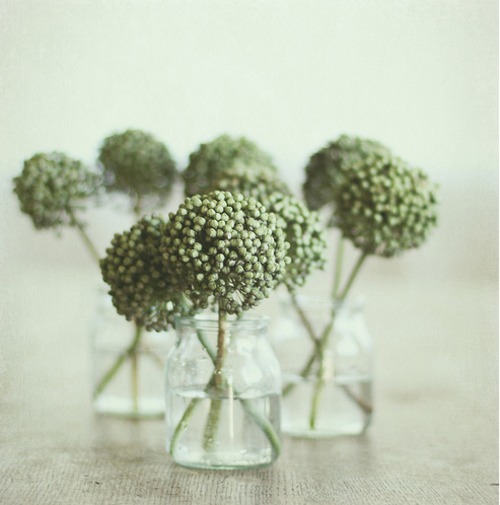
May be you can grow some lovely garlic flowers?
To grow garlic you need to plant them in April. That is coming up... may be you should get on it? And then....
• Separate the garlic heads into individual cloves. Each clove that you plant will grow
into a new garlic head.
• Plant the cloves on top of the surface (pointy end up), pressing down firmly until the
bottom is 5 – 10 mm into the soil. If you have lighter soils, plant the clove 30 – 40 mm
below the surface.
• Shallow planting ensures the whole garlic, and not just the snapped-off stem, gets
pulled from summer-dry ground!
• Plant garlic 15 cm apart within a row and 40 - 50 cm between the rows.
• Mulch with straw after planting to keep the weeds down. If you don’t mind weeding
there is no need to mulch.
• Harvest when about half the leaves have dried off and started to brown,which is usually in early to mid-December. Harvesting times vary depending on the season and different locations.
• Garlic is fairly susceptible to mould and fungus, which will shorten its keeping life
or rot them out all together. For this reason it is important not to water your
garlic for 2-3 weeks prior to harvest (and hope it does not rain too much).
• Garlic left in the ground too long tends to split, allowing soil, moisture and
potentially disease to get in.
• Pull the garlic out by the stem (or with a garden fork if your soil is hard, but be
careful not to damage the garlic).
• Bunch the garlic into groups of 10 – 15 and loosely tie together with twine. Hang
to cure in a dry and well ventilated shed or room.
• Do not harvest your garlic if it has recently rained, drizzled or there’s been a
heavy dew; it is best to wait a few days for the weather to dry it off naturally.
Curing/hanging damp garlic is a sure way to invite mould.
• If you wish to plait your garlic, leave it to hang for two weeks, plait while the
necks have not hardened off and then hang again for another 2 – 4 weeks.
• Once the garlic has cured, clip off the root and the tops about 30mm above the
garlic head and store in a dry, well-ventilated area, in the way you store onions..
• The garlic should stay firm for 8 – 10 months (if stored properly). The medium to
smaller sized garlic keeps much longer than the larger garlic heads, so eat your
larger garlic first.
Garlic growing information from here.
Photos from here.
How helpful am i??
He he Alanna, what a good little sister you are! I love the photos you found...wishing my garden looked like that. A bit hard living in Victoria with the water restrictions.
ReplyDeleteVery helpful little sis! Yes the first one is what we had planned! Will get A. onto it this weekend! Sure sausage will want to help unplant the garlic in the chook poos!
ReplyDeleteoooh those planter boxes are a great idea! I might do that for my veggie garden too!
ReplyDelete